

Nail Art
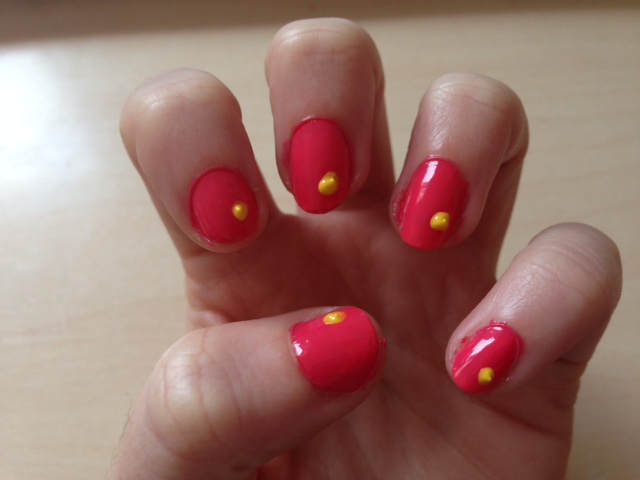
Easy Flower Nail Art
Browsing Pinterest for my daily fix I came across a gorgeous, easy looking nail art design.
This design was petite, flowery and most of all it looked obtainable for the everyday beauty guru to achieve…
I tested it out to see how hard it really was and decided it needed it’s own blog post because it was so simple.
The great thing about this design is that you don’t need to follow every color I do, you can make your nails any color your wish and you can make your flowers blue and red if you wish!

Things You Will Need:
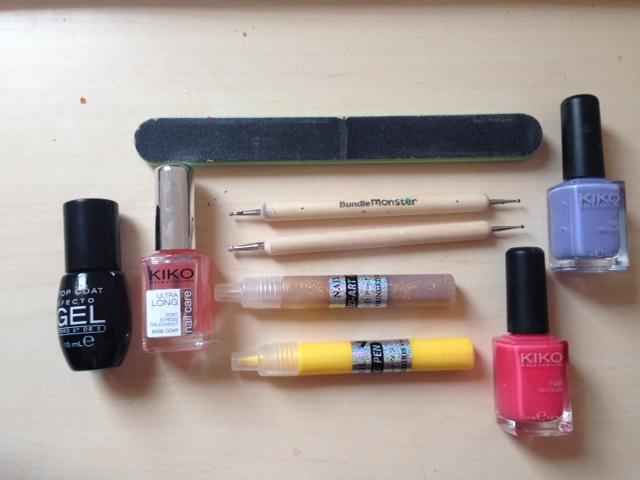
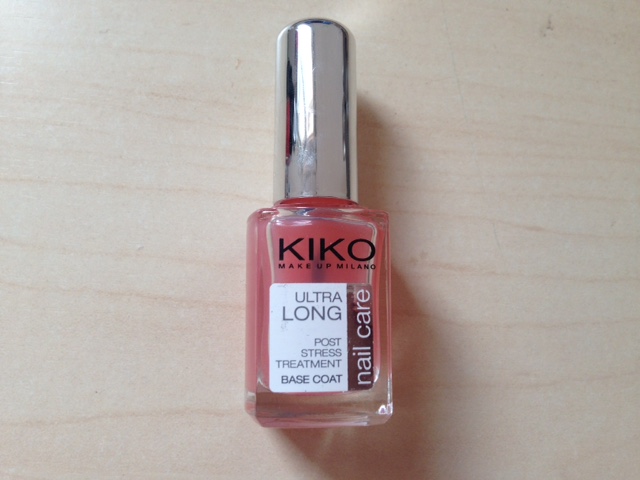
- The first thing you will need is a base coat. I am using this KIKO base coat but, feel free to use whatever base coat you have. It will just protect your nails and helps the polish to work.
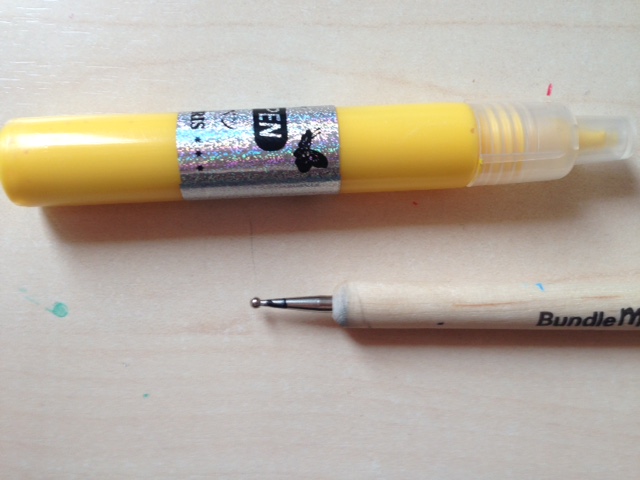
- I have a yellow nail art pen and a gold glitter nail art pen. The yellow is to create the ‘pollen’ and the gold is an added extra that I explain below.
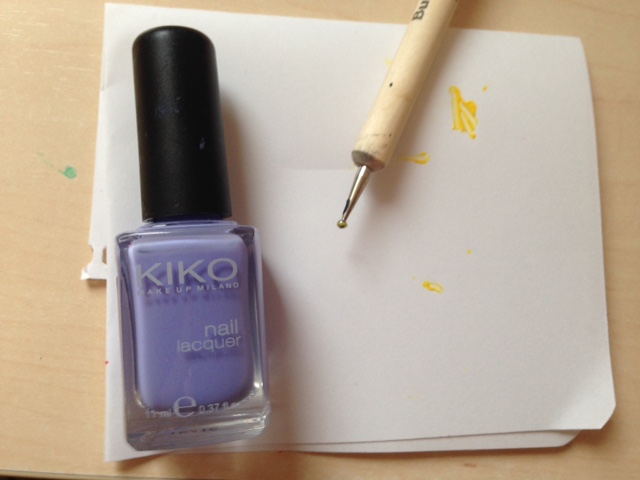
- I have a purple polish which is going to be the color of my ‘petals’ but, feel free to use any color you wish.
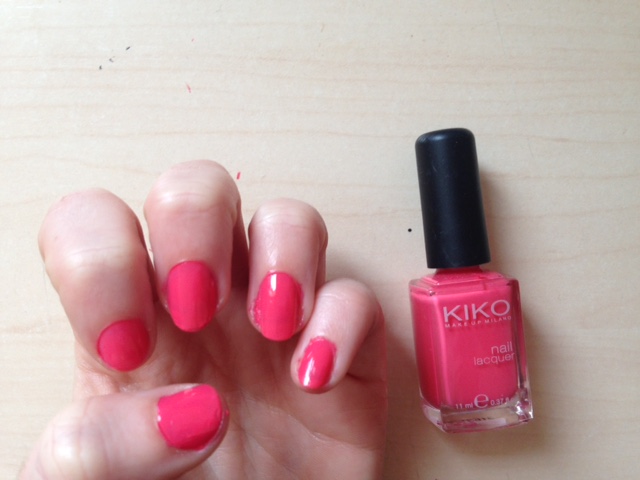
- I have a pink which is going to be the actual color of my nails. I picked this color as it really makes my purple pop but, feel free to use any base color.
- I have two nail art tools One to create the pollen ‘dot’ and one to create my petals but, feel free to use a toothpick.
- Finally, my gel top coat. This is to lock in my design but, feel free to use any kind of clear top coat.
Step #1
The first thing you need to do is protect your nail bed. Apply a base coat. I am using the KIKO nail care, ultra long base coat but, feel free to use absolutely any base.
Once that is dry, take the color you want your nail to be and coat your nails evenly. I went for the Pink shade by KIKO, which I love but go for absolutely any color you are feeling that day.
Step #2
The next step is to create the ‘pollen‘ or the ‘buds‘ of our flowers. I am using one of my nail art tools to create this but feel free to use a toothpick or any other small dotting tool instead.
I’m making my pollen yellow but, feel free to make it any color you wish. Black pollen and white leaves would look great.
On the top left or right hand side of our nail we are just going to make one small dot with our yellow polish.
Allow the pollen to completely dry before moving on!
Step #3
The next step is making the petals. Don’t worry about making them perfect, it can be a little tricky using a toothpick that’s why I use a nail art dotting tool but, if you take your time it should be fine.
Taking the color you want your leaves to be I chose a lilac color from KIKO, carefully make 5 teardrop shapes around each bit of pollen.
If you are using a dotting tool or a toothpick start with a small dot and just try dragging it out in to a teardrop and then carefully round out the edges.


Step #4
Allow your nails to completely dry before moving on. If you smudge then you may have to repeat the whole process so it pays to wait!
There’s two additions to step 4. The first step is to apply the gel top coat to seal the design, allow to dry and your flower design is ready!
However, there is an extra tip here:
If you want to add a little something to the flower, using nail glitter, a glitter nail varnish or nail rhinestones you can add something to the middle of the pollen.
I am using this gold glittery polish I got in my nail art pens kit.
All I am going to do is ensure my whole design is dry and using a small dotting tool ( use a toothpick if you don’t have any!) and being extremely careful I’m going to add the glitter to the middle of the pollen.
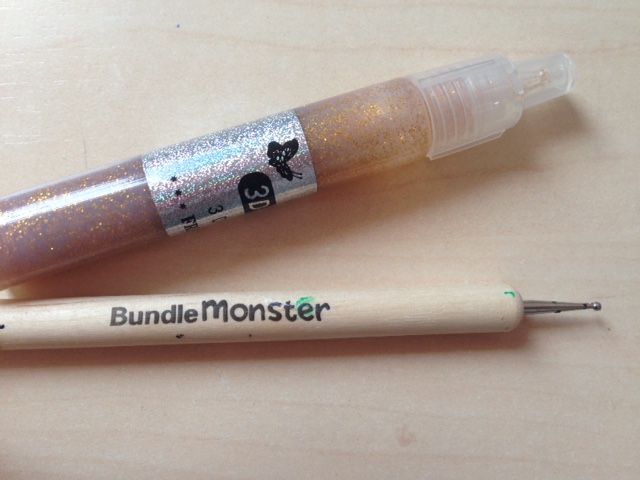

As you can see the glitter I used was incredibly subtle. I didn’t want it to be too prominent and overshadow the flower design but feel free to let me know what you did!
If you did go and add glitter now we need to wait for them to dry completely before completing our easy nail art design with a clear top coat.
Nail Art Tools I Used:
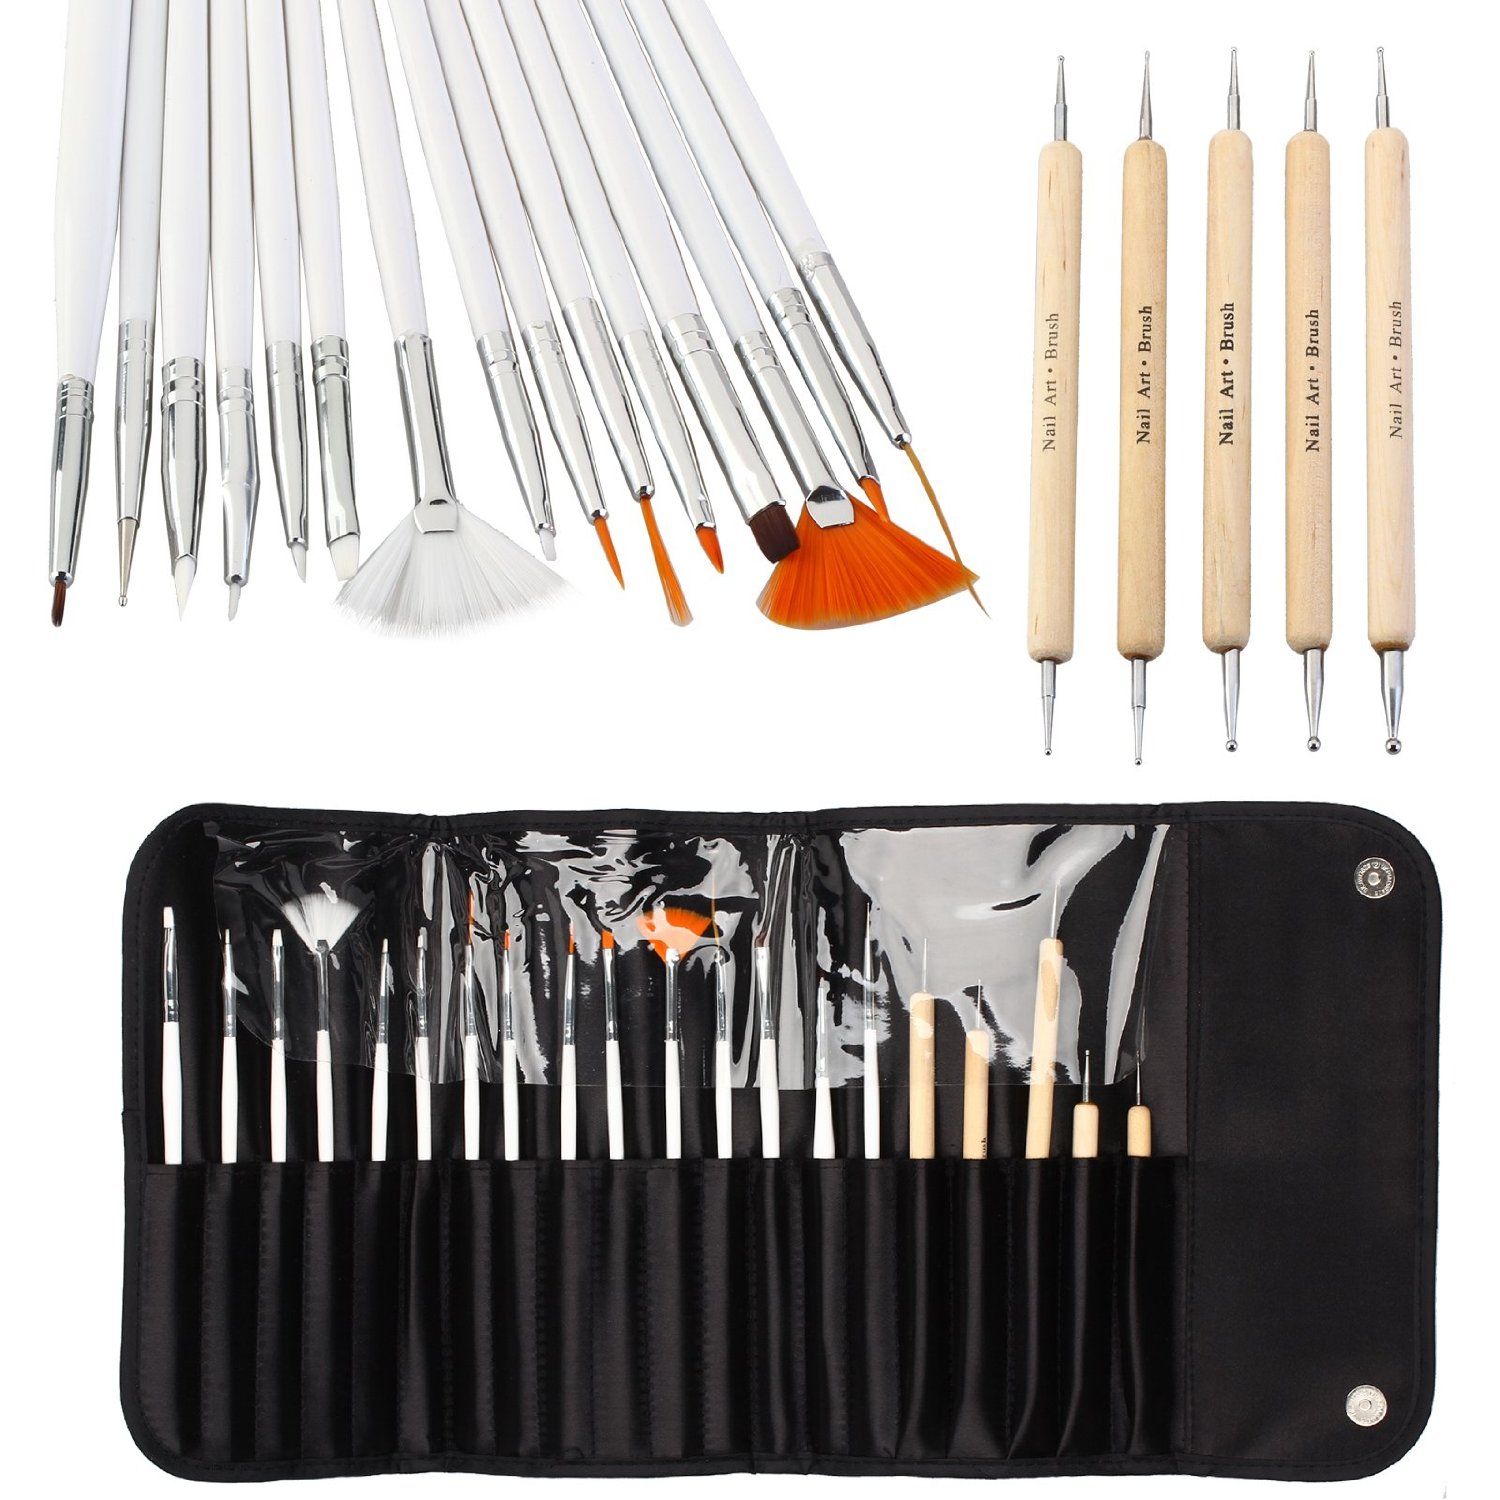
I used a few of these tools to create the pollen and the leaves of my flowers. They are so cheap and have so changed the way I do my nails.
Click Here For The Best Price In The UK…
Click Here For The Best Price In The US…
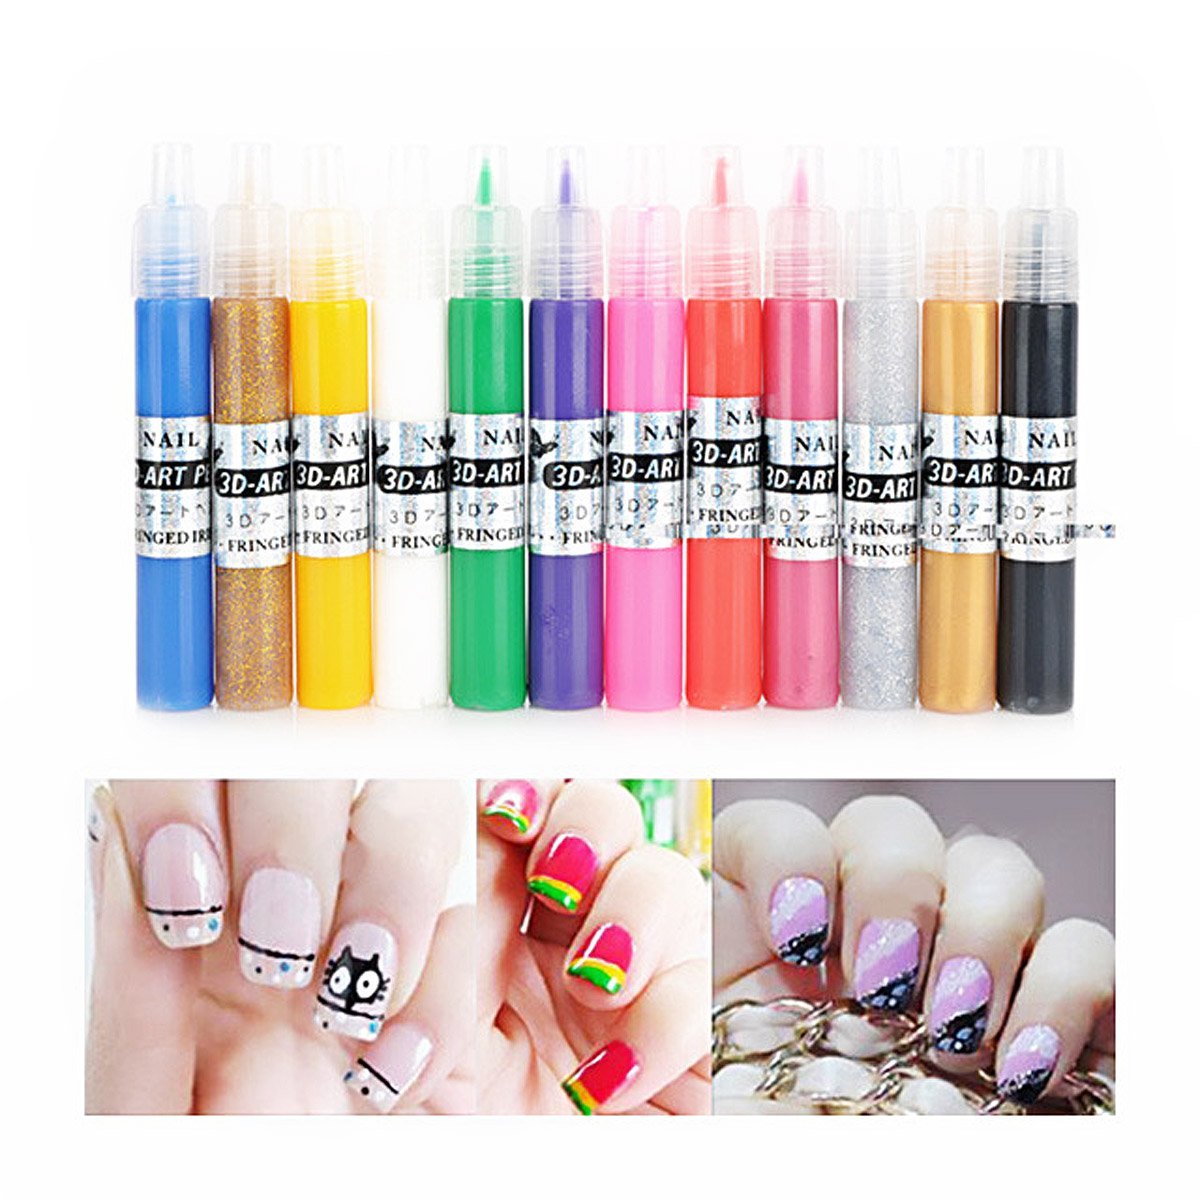
As you can see it comes with a ton of colors so you can literally create any type of nail art.
Click Here For The Best Price In The UK…
Click Here For The Best Price In The US…
I hope you enjoyed my Easy Flower Nail Art if you did please let me know in the comments below and also check out my other designs by clicking here!
Lauren.x

0 comments