
Nail Art
Easy Valentines Day Nail Art Design
Valentines day is fast approaching and we all know I love a bit of easy nail art.
I was browsing for ideas online and I was so shocked at how difficult some of the designs were. I would think even some of the most experienced nail artists would of struggled, I carried on my search and I soon realized that a lot of the photos were actually super imposed.
One in particular had quite clearly super imposed some perfect, amazing little white hearts on to the end of their nail. Of course not all were, some were just incredibly difficult and others I did like However…
I decided something had to be done. Even if my cute little design only gives you inspiration for another design just know, the crooked lines and blood sweat and tears are all 100 % REAL.
Things You Will Need:
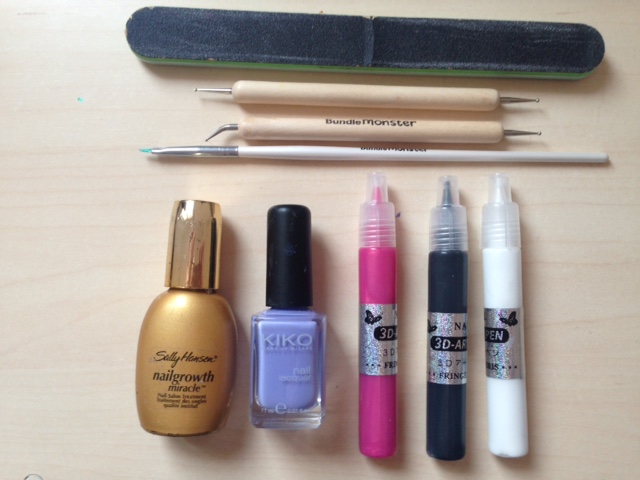
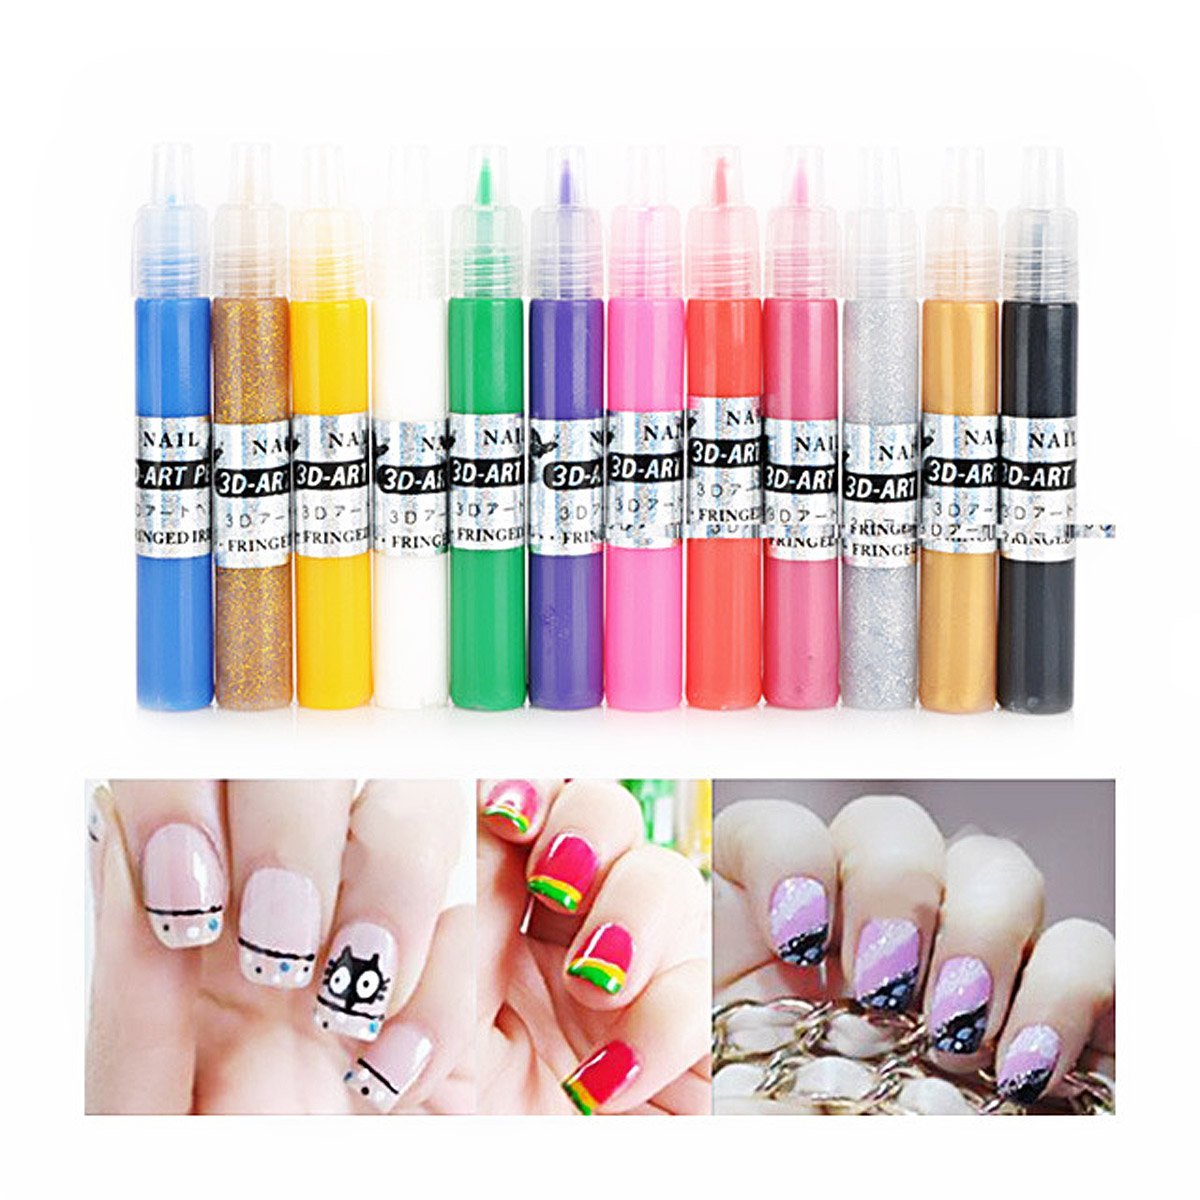
- The first thing you’re going to which isn’t in the picture is a clear top coat. I use a gel top coat but feel free to use anything that seals the design in.
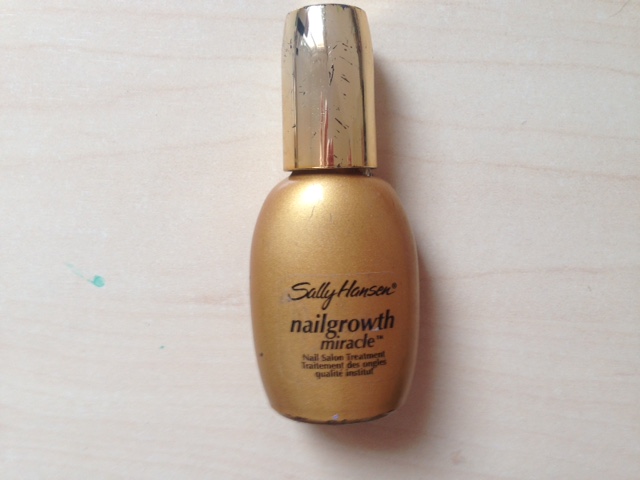
- You are going to need a base coat to protect your nails. I used Sally Hansen, Nailgrowth Miracle.
- Next up is a base color. I use a lilac color from Kiko but, feel free to use absolutely any color you desire.
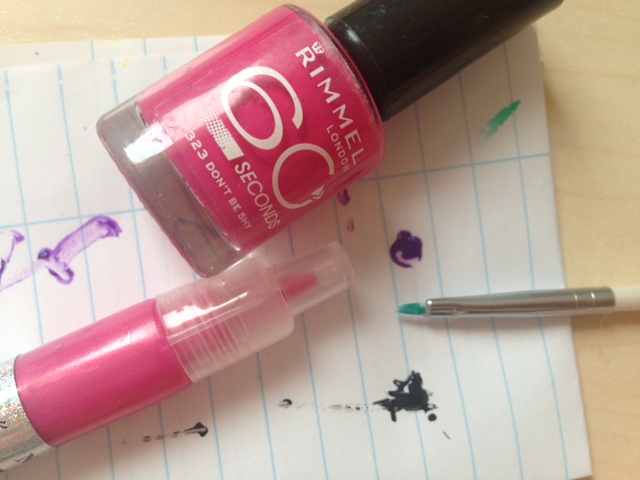
- My pink nail art pen is for the inside of my hearts. This is from the set I always use but I found a color dupe and it’s from rimmel London and it’s called ‘don’t be shy’.
- The black nail art pen is from my nail art collection and this is for the outline of my heart.
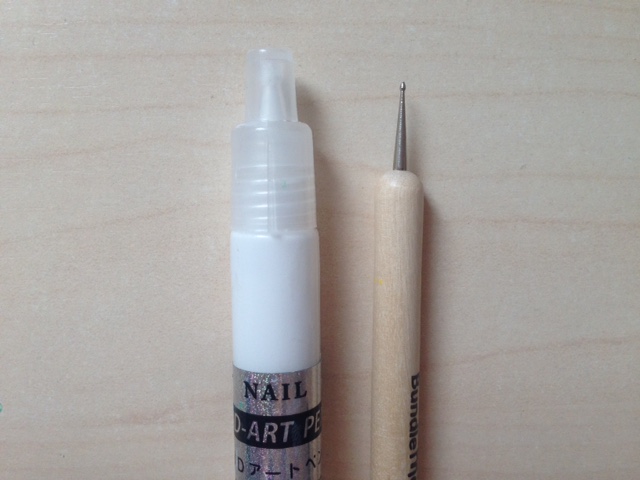
- The white nail art pen is to create polka dots and again it’s just from the same set I always use.
- The three nail art tools are from my usual kit but feel free to use a toothpick to substitute all three.
# Step 1
Taking your base coat, coat your nails and wait until they are dry. This just protects your nail from the polish and helps them grow.
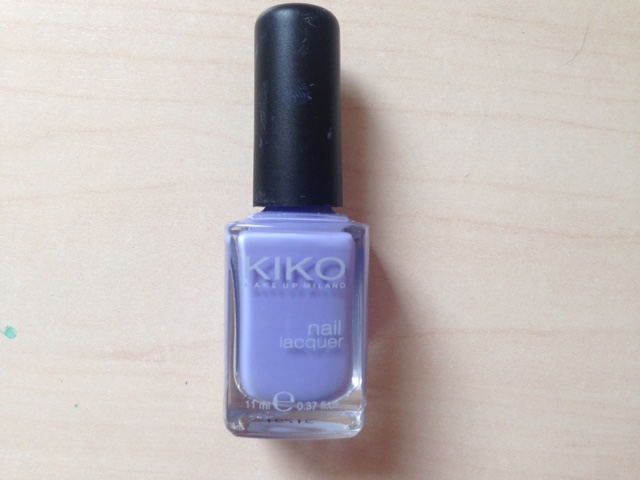
Once dry, take your background color. Mine being this Kiko lilac shade and paint your nails evenly. You may need two coats depending on the color of your background.
Wait for this to thoroughly dry before moving on to the next step.
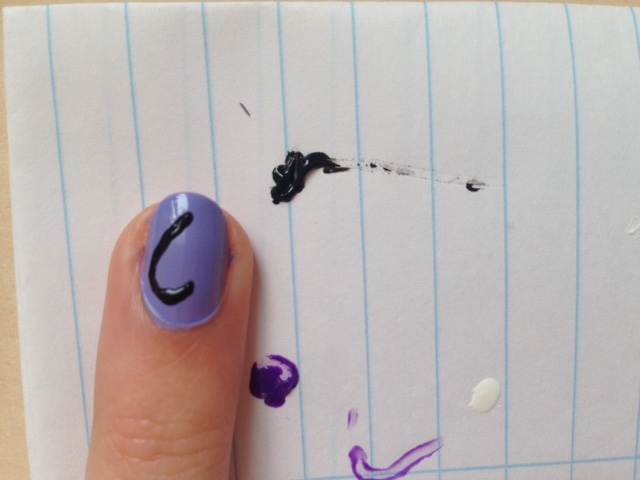
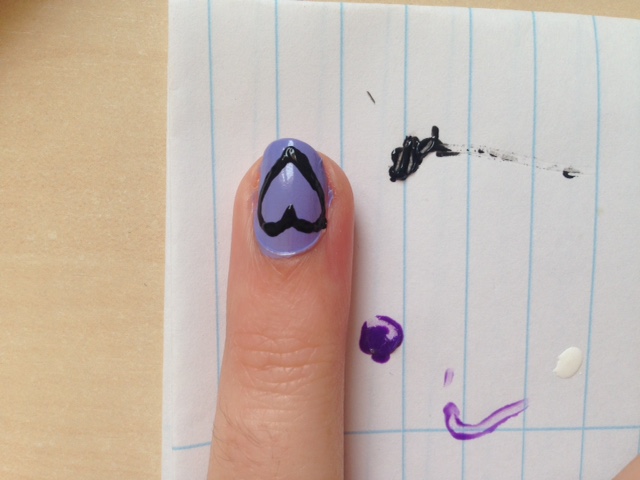
# Step 2
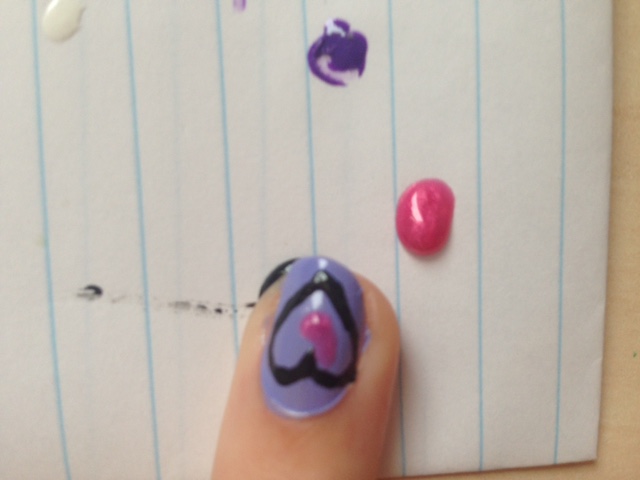
Taking your nail art tool or your toothpick begin creating a ‘C’ like shape on your desired nails. Start by doing one ‘C’ and then joining it with the other (see below)
I’m using a black outline using my nail art pens but feel free to use whichever color you desire.
Remember we are not filling our heart in, we are simply creating an outline making it look a bit more 3D.

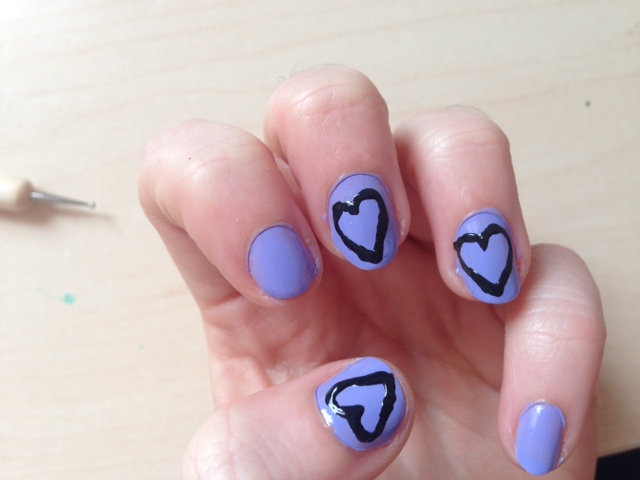
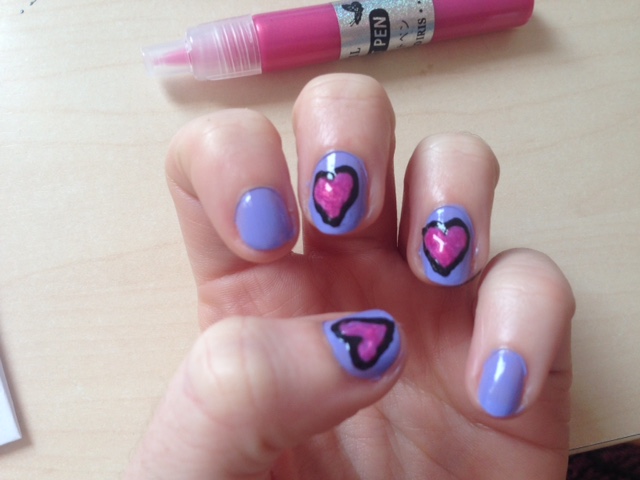
# Step 3
Step three is all about filling in our heart. I’m using my pink nail art pen to fill them in but, feel free to use any color that suits.
Taking your nail polish or your nail art tool just slowly fill in the heart, taking care to stay within the lines!
# Step 4
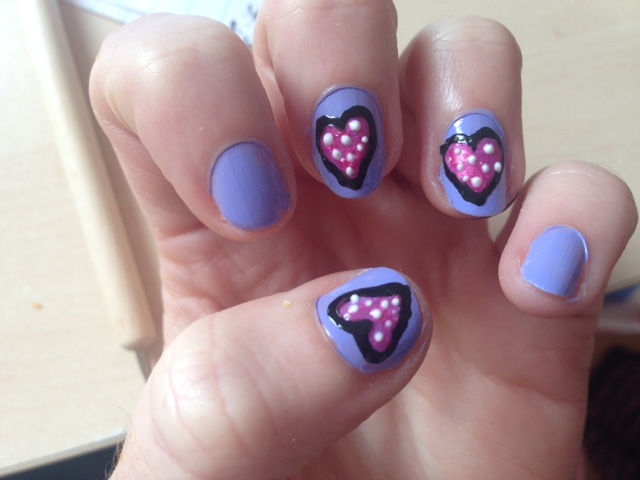
Once your nails are completely and utterly dry we can move on to our ‘dotting’ step.
Taking your small dotting nail art tool or the end of your toothpick, we are going to create polka dots inside our hearts.
I am using my white nail art pen but, feel free to use any color you think will suit your nails.
Make sure your dots aren’t too symmetrical, try and vary their sizes by pushing down harder with your nail art tool or toothpick.
#Step 5
The final step is making sure our design is locked in to place by taking our clear top coat and coating our nails. Make sure your nails are completely dry before applying the clear coat and once applied allow to dry and your valentines day nails are done!


What I used
I have been able to create these, cute new designs since I began using my nail art tools so I always leave them below for you to check out. I am in love with mine and they have just made my life so much easier.

Click Here For The Best Price In The UK…
Click Here For The Best Price In The UK…
I hope you enjoyed this post on Easy Valentines Day Nail Art Design if you did please let me know in the comments below!
Lauren.x

0 comments