

Nail Art
Easy Easter Nail Art
Inspired by Easter this weekend and a kind follower on my twitter, I decided to do an Easter nail art post. I am going to make it as easy as I can, so that everyone can do it.
If you are not familiar with my blog, just know I make these nail art designs for fun, in no way am I a professional. I just love making designs that everyone can try. I didn’t care about my nails a few months ago and knowing I am now capable of a few nail art designs here and there makes me so happy.
You are going to need a few things for this nail art design!

- The first thing is a nail base coat. I use the Sally Hansen Nailgrowth miracle, but feel free to use any.
- I then used a lilac color for all of my nails, aside from each ring finger.
- I also have a white nail polish that I will use for my polka dots.
- I have a black, yellow and white nail art pen. All of which came in this set.
- Two nail art tools that came in this set.
- You will also need an orange polish and a top coat which I missed out of the picture!!!!
- Finally, an emery board.
I am also going to leave below the nail art pens and nail art tools I used!

Taking my nail base coat, I am just going to evenly coat my nails and wait for them to dry. Using a base coat protects your nails from any harsh chemicals and also, this one helps them grow.

Taking my lilac color (which I love!!) I am going to coat each nail evenly. Remember to miss out your ring fingers as they are going to be our chicks!


Taking my yellow nail art pen and a rounded nail art tool I am just going to take my two ring fingers and paint them about halfway, making the ends cracked, like a broken shell.
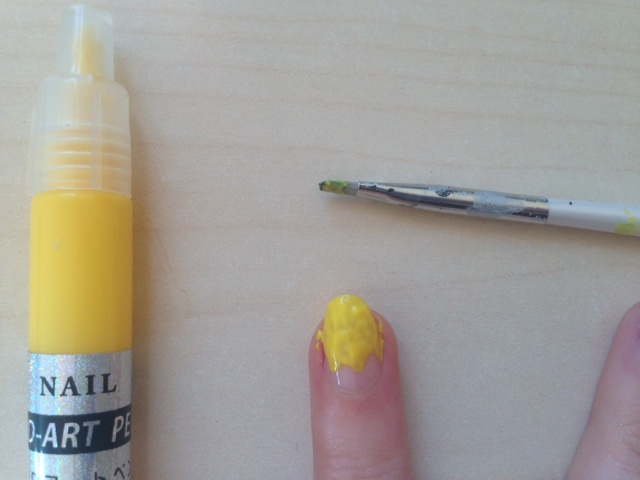

Taking either my nail art polish or my nail art pen I am going to apply polka dots to every other nail. If you don’t have any nail art tools, feel free to use a toothpick for this step!

Once your nails are completely dry, we can begin filling in the chicks egg shell. Taking your white nail art pen or nail polish and a nail art tool or toothpick, begin filling in the empty spaces on each ring finger.

Now it’s time for the eyes and beak! Make sure the yellow polish is completely dry before attempting this, because it if smudges well..we are back to square one.
Taking a orange nail polish or nail art pen (yes I know I left it out of the picture at the start!!) make a small upside down triangle with either your nail art pen or a toothpick.
Then taking your nail art dotting tool or toothpick, make two small black dots above the beak.


Now all that is left is to tidy up around the edges and apply a shiny top coat to the design (something else I left out of the picture!)


The Nail Art Pens And Tools I Use –
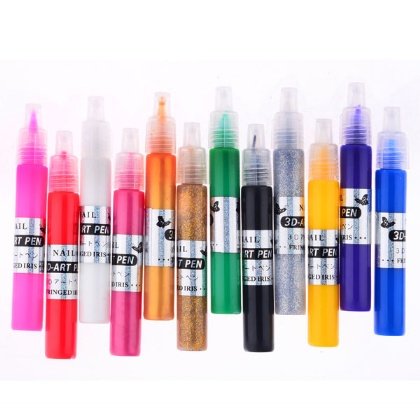
I use these nail art pens in every single nail art post I do. I absolutely love them.
You can check them out by clicking the links below.
Click Here For The Best Price In The US
Click Here For The Best Price In The EU

Once again I use these nail art tools all of the time. They have come in handy way more times than you can imagine and they are such a reasonable price.
You can check them out by clicking the links below.
Click Here For The Best Price In The US
Click Here For The Best Price In The EU
I hope you enjoyed this post, if you did please let me know in the comments below.
Have a great Easter!
Lauren.x

0 comments