

Nail Art
How To Apply Nail Art Stickers
Hi everyone!
I recently found myself in kiko, one because I just can’t resist and two because in my kiko ( did you notice the way I said my?) they always seem to have really amazing sales on.
Anyway! whilst browsing the shelves I came across some nail art stickers. I had never ever used them before and thought I should probably test them out (for research of course).
I picked up some little cats that i’m going to be using today and some glitter tape that I’m going to save for another time!

First off I always protect my nails using a base coat, i’m using this one from kiko but feel free to use any. It just protects your nails from the chemicals inside nail polishes.
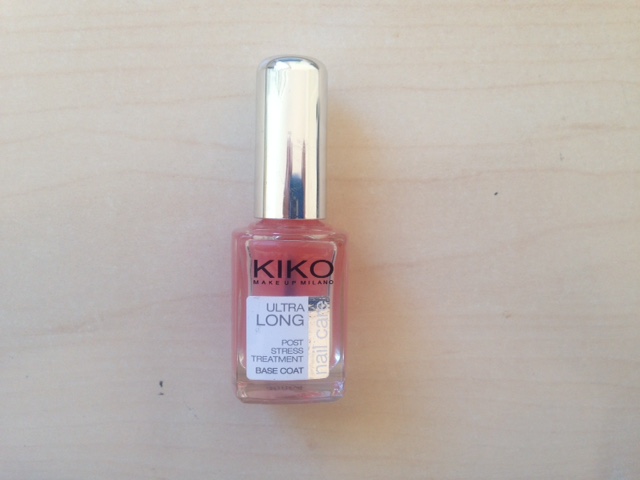
I recommend this nail base as it’s the one I always use when I’m not using the one above…
Click Here For The Best Price In The EU
Click Here For The Best Price In The US
I didn’t know what background to use on my nails. My cats are grey so I was thinking red? yellow? GREEN?! but then I stumbled across another sale in KIKO and picked up some white nail varnish.
In my greed I actually picked up the wrong one, I wanted a thick white, whereas the color I got is quite creamy and glittery but, once the second layer was applied it is actually really nice.

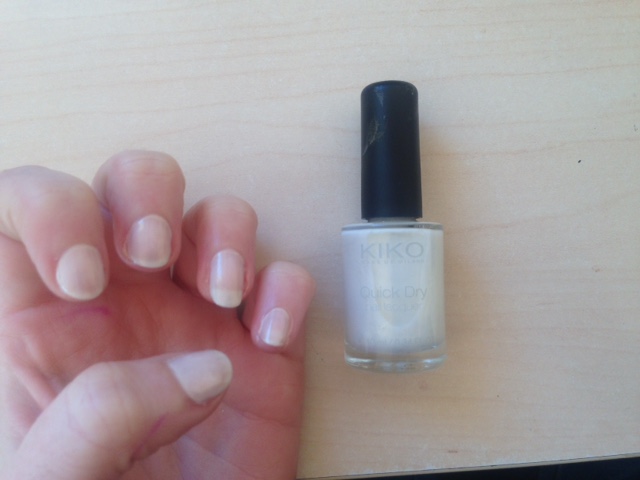
I do love this nail varnish because it’s a ‘quick dry’. One thing I hate so much is waiting for my nails to dry so even though I picked up the wrong color I now have a really quick drying creamy white.
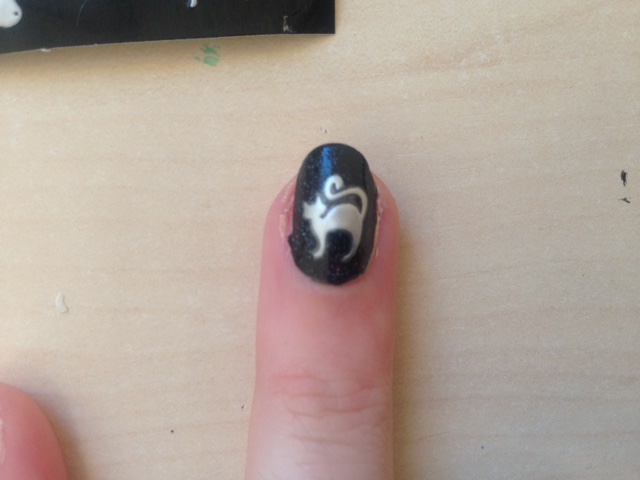
I also then painted the nail on my ring finger black. I didn’t think the white would make my nail art sticker ‘pop’ so, decided on the black.

The stickers…
These are my nail art stickers. I truly wasn’t sure how to apply these before I started making this post so if I do it wrong, please let me know!
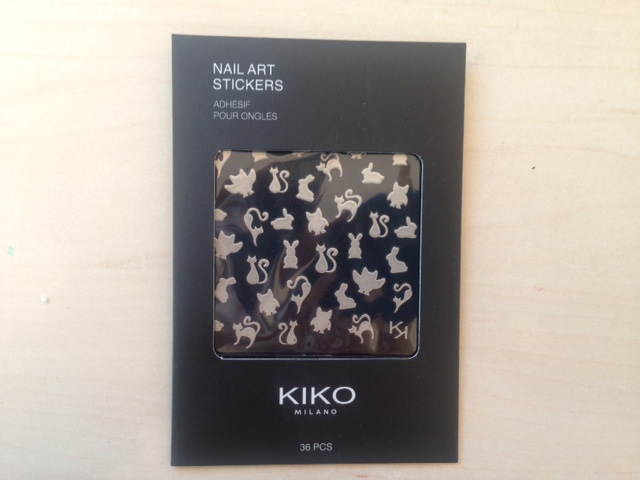
Like I said in the beginning these weren’t the only nail art stickers I brought. I just wanted to experiment with stickers before I moved on to the tape.
I loved these little cats, they really stood out to me. I have also just noticed they aren’t just cats there’s bunnies and owls in their too. Pro blogger.

I also found some really nice nail stickers online. They aren’t like my cat ones but, they are so cute.
You can check them out in the EU by clicking here and in the US by clicking here.
How to apply…
All I’m doing is making sure my base coat is dry and then applying the nail art stickers. Using tweezers I’m picking my favorite little cat and applying just one to each ring finger. It’s not as fiddly as you may think, you just need to get hold of the sticker and it will fall straight on to the nail.
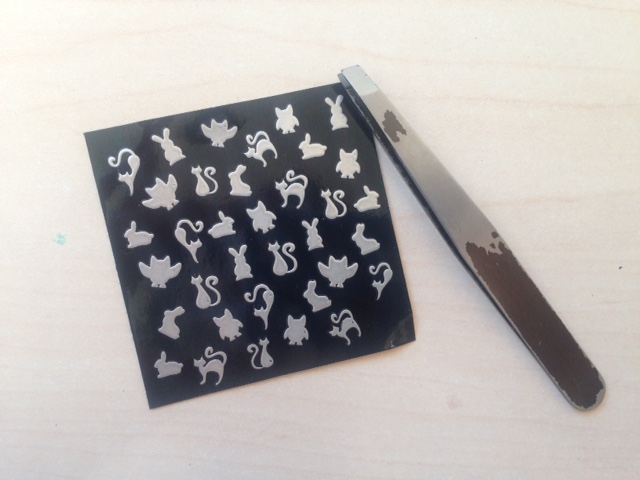
(I know how disgusting my tweezers are!!!)

Once applied…
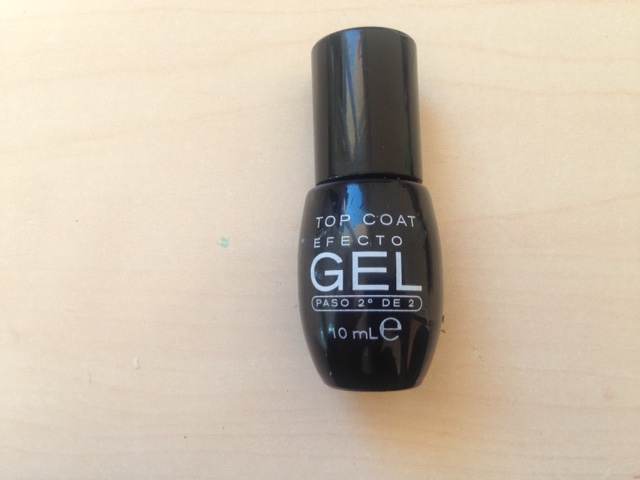
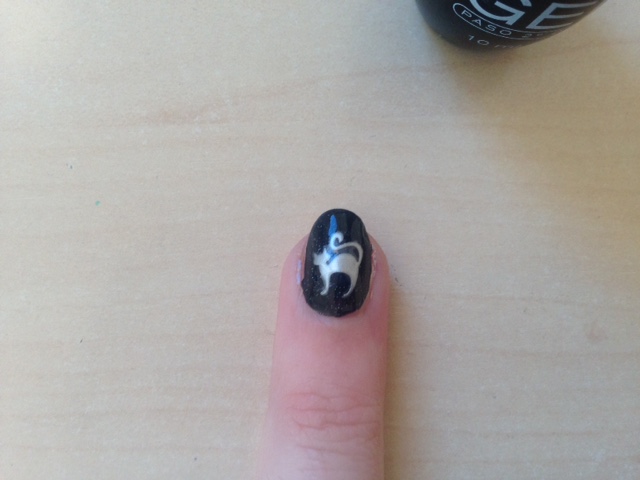
This is the most important step that you must not forget! That’s too apply a top coat. You have to do this to seal your design in and stop it falling off.
I’m using a gel effect top coat and i’m going to be applying a ‘stop biting’ nail varnish on top of this to really seal it in and to stop me picking at it!
This is the stop biting nail polish I am going to be adding to the dry design and then we are done!

I recommend this ‘stop biting’ nail varnish.
Click here to check it out in the EU
Click here to check it out in the US
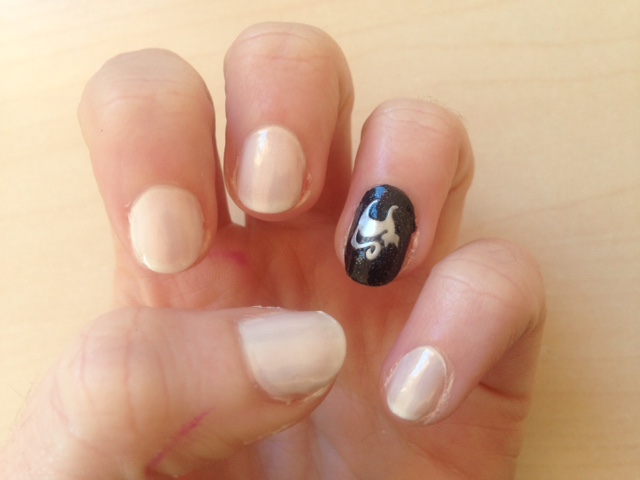

Using nail art stickers was so much easier than I originally thought. I thought it was going to take some serious patience but it really surprised me how easy it was. I am aware that I think I stuck my cat the wrong way round but, I like him that way…it’s like I can always look at him…
I hope you enjoyed this post on how to apply nail art stickers, if you did please let me know in the comments below!
Lauren.x
Related posts:

0 comments